Health-Oriented Keyboard Buying Guide Outline
Poor keyboard ergonomics — think wrong height, crazy tilt angles, or layouts that just don’t make sense — have been tied to three big troublemakers: wrist pain/numbness (e.g., carpal tunnel syndrome), tight forearms, and stiff necks or shoulders. Let’s dive in.
-
Wrist Pain & Numbness (Carpal Tunnel Syndrome)
Firstly, in one lab study with 30 typists, they played with keyboard slopes from +15° down to –15°. Guess what? As the board tilted back, wrist extension dropped by about 13° (around 22° at +15° to roughly 9° at –15°). And, get this, raising the board above elbow height slashed it even more — from ~21.8° to ~7.3° (Simoneau & Marklin, 2001). So negative tilt + proper height = less median nerve squeeze. Secondly, a 2003 follow-up showed at –15° your wrists even flex a little (~3°) and extensor muscle EMG readings fall, which pretty much means less fatigue and nerve pressure (Simoneau et al., 2003, Phys Ther).
-
Forearm Muscle Tension
Next up, the same 2003 EMG study found that as you tip the keyboard negative, extensor carpi ulnaris (ECU) activity dips by 1–3% MVC. In plain English: your forearms chill out more (Simoneau et al., 2003). And, believe it or not, a 2006 meta-analysis backs this up — ergonomic keyboards cut strain big time (r = 0.66 for negative slope; r = 0.79 for split layout; r = 0.33 for pronation) (Marklin & Simoneau, 2006).
-
Neck & Shoulder Stiffness
Then, there was that 1998 study with 18 typists over 5 days (4 h/day). They compared split-adjustable vs. flat boards and saw that split designs drop wrist pronation in just 2 hours — which means less shoulder strain risk (Smith et al., 1998). Secondly, in 2009 researchers looked at split “gabled” boards at a low height and neutral slope (0° to –4°) and found they minimize elbow lift, ulnar deviation, and pronation, so less tension travels up to neck and shoulders (Rempel et al., 2009). Finally, a 2023 study confirmed negative-slope keyboards keep wrist posture more natural and forearm muscles quieter in both sitting and standing setups — indirectly easing neck/shoulder stiffness too (Eghujovbo & Kim, 2023, Ergonomics).
Factor 1: Keyboard Height & Tilt Angle
- Negative Tilt and Adjustable Feet: Look for keyboards with adjustable feet that allow the front to be higher than the back. A slight negative slope (front elevated) keeps wrists more neutral, reducing pressure and strain.
- Stability: Ensure the keyboard’s feet lock securely in place; avoid designs that wobble under a negative tilt. If unsure, check user reviews or product images to confirm the stability of its tilt mechanism.
- Height Alignment: Position the keyboard so the keytops are roughly at elbow level (about 8–10 cm above the desk when seated). Keyboards described as low-profile or with adjustable legs help maintain a natural posture. Avoid any keyboard that forces you to raise your shoulders or bend your wrists upward.

Factor 2: Keycap Profile & Typing Force
- Keycap Height/Profile: Low-profile keycaps (like laptop or scissor-switch keyboards) minimize finger travel and keep hands flatter. Mid-height profiles (e.g. Cherry or OEM) offer a comfortable compromise for wrist alignment, while flat profiles (like DSA) change finger motion mechanics—choose what feels most natural for you.
- Switch Force/Typing Effort: Mechanical keyboards vary in switch weight. Light linear or tactile switches (e.g. Cherry Red, Gateron Clear) require less force, reducing finger and forearm fatigue. Heavy switches (60g+) may feel satisfying but can tire your muscles. If possible, try different switches or use a switch tester to find a comfortable actuation force.

Factor 3: Keyboard Layout & Key Spacing
- Keyboard Size: Full-size (100%) keyboards include number pads, which push your hands outward. Unless you often need a numeric keypad, consider 60%–75% layouts to keep your hands centered. Tenkeyless (~87%) is a good middle ground if you occasionally need a numpad.
- Split and Ergonomic Layouts: Standard key spacing (about 19mm) suits most users. For better ergonomics, consider split or ortholinear designs. Split keyboards let your hands sit shoulder-width apart, reducing ulnar deviation and shoulder stress. Ensure the layout matches your shoulder width and typing habits.

Factor 4: Wrist Rest Usage
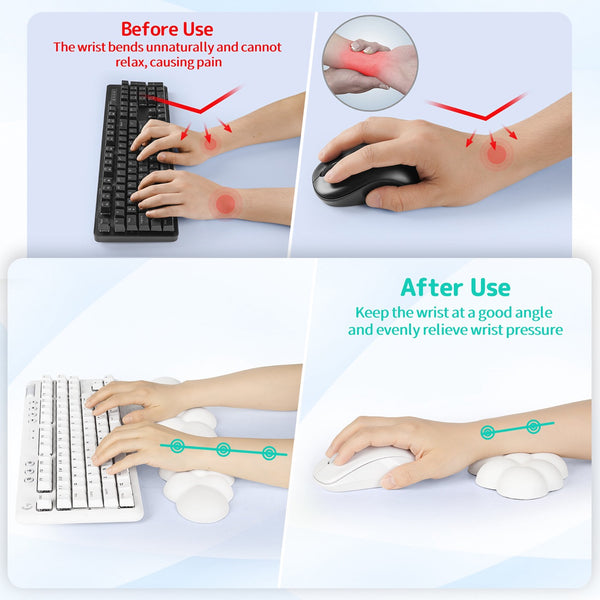
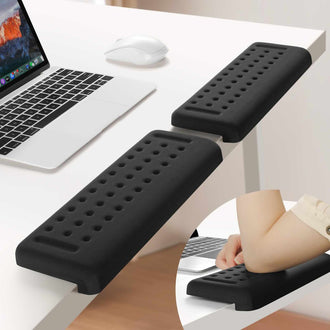
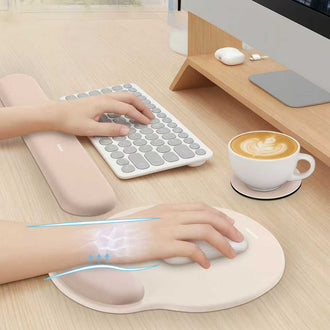
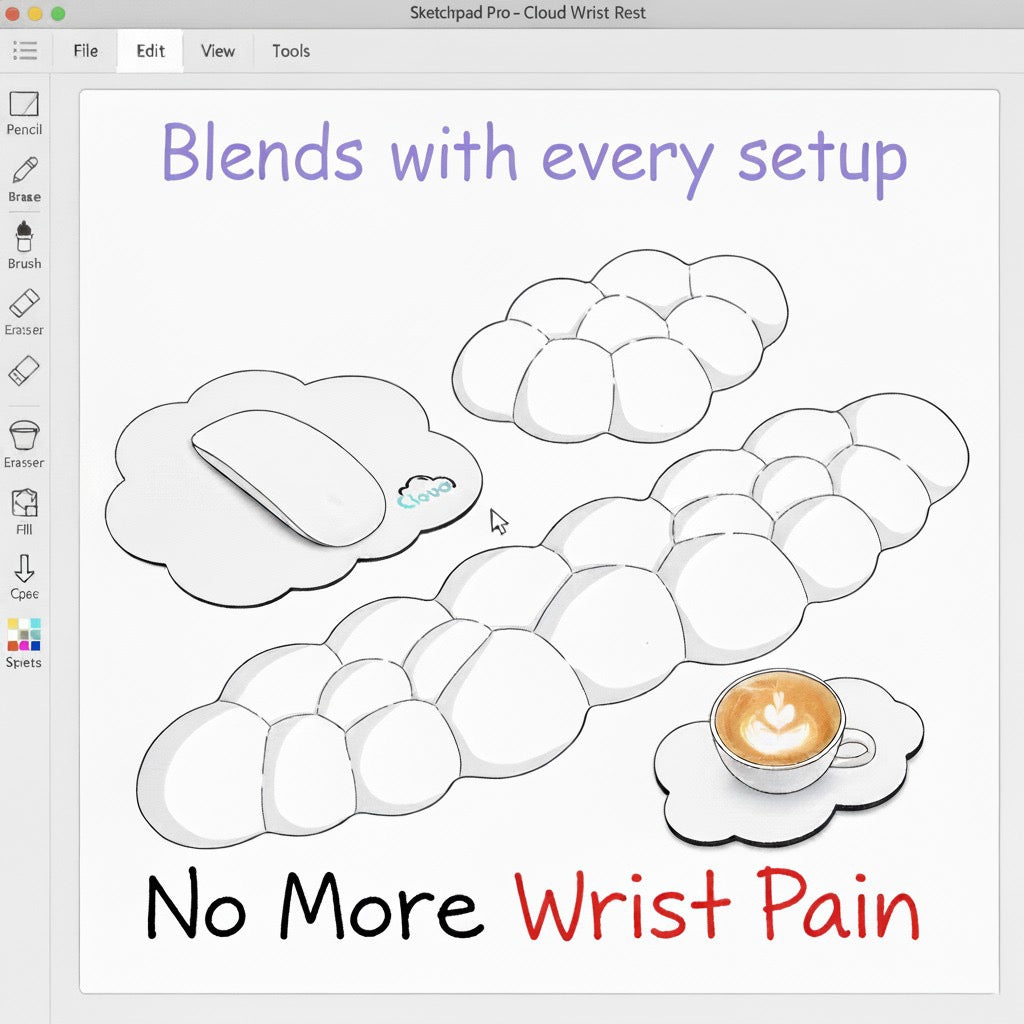
- Choose the Right Thickness: Use a wrist rest that is low-profile (medium thickness). Avoid thick or hard pads that elevate your wrists too much. A memory foam or gel pad that keeps your wrists near desk level is ideal.
- Proper Use: Keep your wrists slightly above the pad while typing; use the rest only during brief pauses. A good wrist rest has a non-slip bottom and should match your keyboard’s width (or each half of a split keyboard) exactly. This provides support without compressing wrist nerves.
- Material and Comfort: Memory foam molds gently to your shape, while gel pads feel firmer. Leather or cloth surfaces tend to feel nicer than plastic. Ensure the rest feels comfortable on your skin and stays in place.
- Posture Reminder: A wrist rest is a supplement, not a fix. Maintain overall good posture—keep your elbows close to your body, shoulders relaxed, and wrists in a neutral position—to maximize ergonomic benefits.

Beyond keyboard features, your habits and environment also influence comfort. The following tips can help heavy keyboard users maintain good posture and reduce strain:
Extra Tips for Heavy Keyboard Users
- Take Regular Breaks: Schedule a short break every 30–45 minutes to stand, walk, and stretch your wrists, shoulders, and neck. Simple exercises like shoulder rolls and wrist rotations during these breaks help maintain circulation and reduce fatigue.
- Arm and Elbow Position: Keep your elbows bent at about 90°–100° with forearms parallel to the floor. Keep your arms close to your body to reduce shoulder strain, and let your wrists hover above the desk for neutral alignment.
- Workstation Setup: Position your keyboard, mouse, and monitor directly in front of you. Keep the keyboard close to the desk edge so your forearms can be supported. Place your monitor about an arm’s length away, with the top of the screen at or just below eye level.
- Overall Posture: Sit with your feet flat on the floor (or on a footrest), knees slightly below hip level, and use lumbar support. Maintain a straight back. Alternate between sitting and standing throughout the day to avoid staying in one position too long.


